Installing a main drain in an above-ground swimming pool has become more popular. As a result, more people have to deal with them when the time comes to change out their pool’s liner
Many DIYers are OK taking on the project of changing their above-ground pool liner, but if they have an existing main drain, then that worries them a lot.
When changing an above-ground pool liner that has an existing main drain in it, the most important part is keeping the screw holes of the seal ring free from dirt and debris
HOW ARE MAIN DRAINS ATTACHED TO ABOVE-GROUND POOL LINERS?
Main drains bring water back to the pump from the bottom of the pool. This means that a hole has to be cut in the pool’s liner where the main drain is set.
With a concrete swimming pool, concrete is poured and leveled directly next to the main drain body and that is how it is sealed in and doesn’t leak.
Main drains in vinyl-lined pools require the liner to be cut in order to make the drain opening. A plastic ring along with two gaskets are screwed down around the hole and that is what keeps it from leaking into the earth.
This having to make a hole in the liner and then placing the ring properly around it so it doesn’t leak is what scares DIYers. And it should as you don’t want a swimming pool to leak even a little.
14 STEP-BY-STEP DIRECTIONS ON REPLACING A POOL LINER AROUND A MAIN DRAIN
1 Drain the pool and cut the old liner out in pieces, but leave the liner in place around the main drain
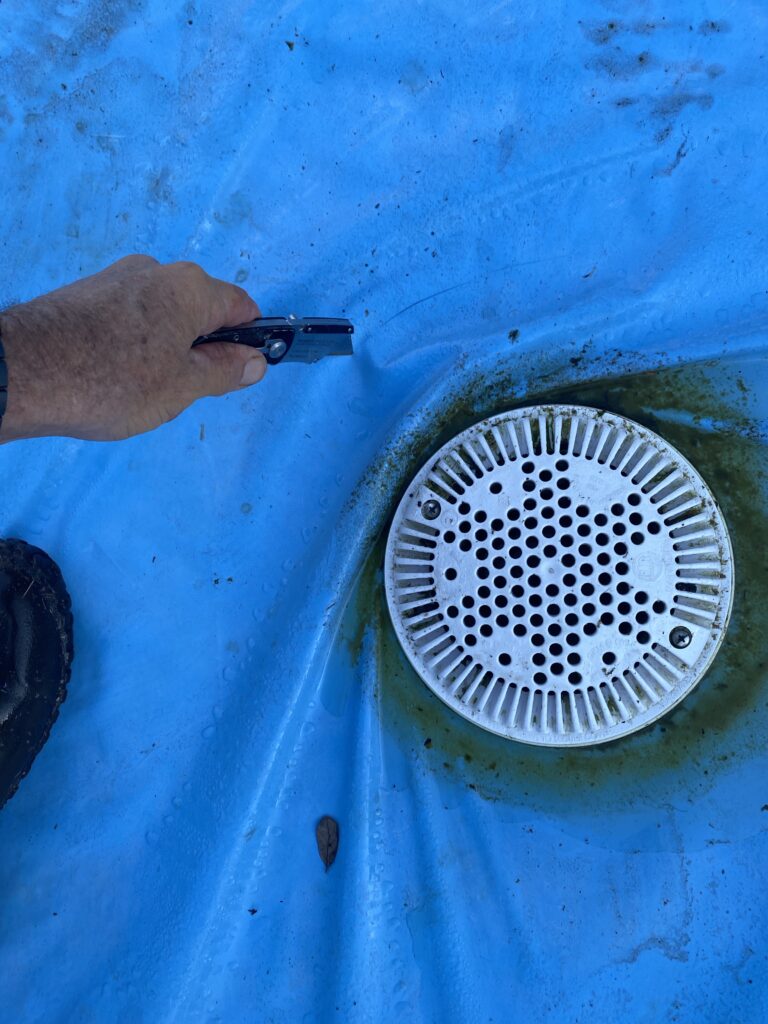
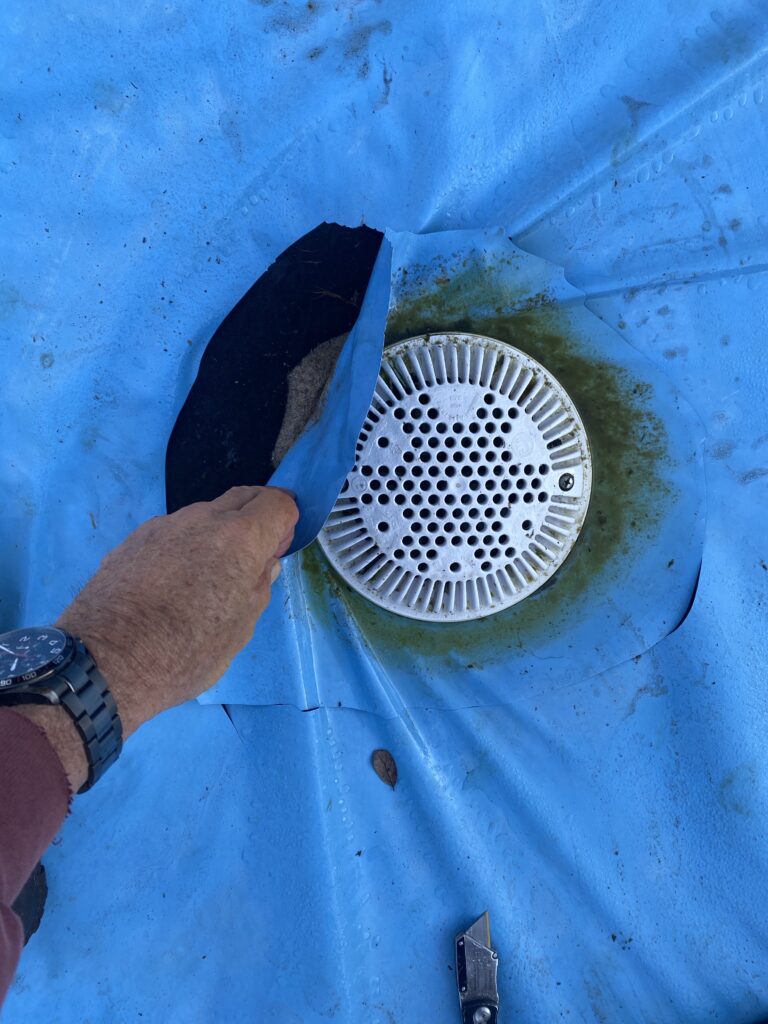
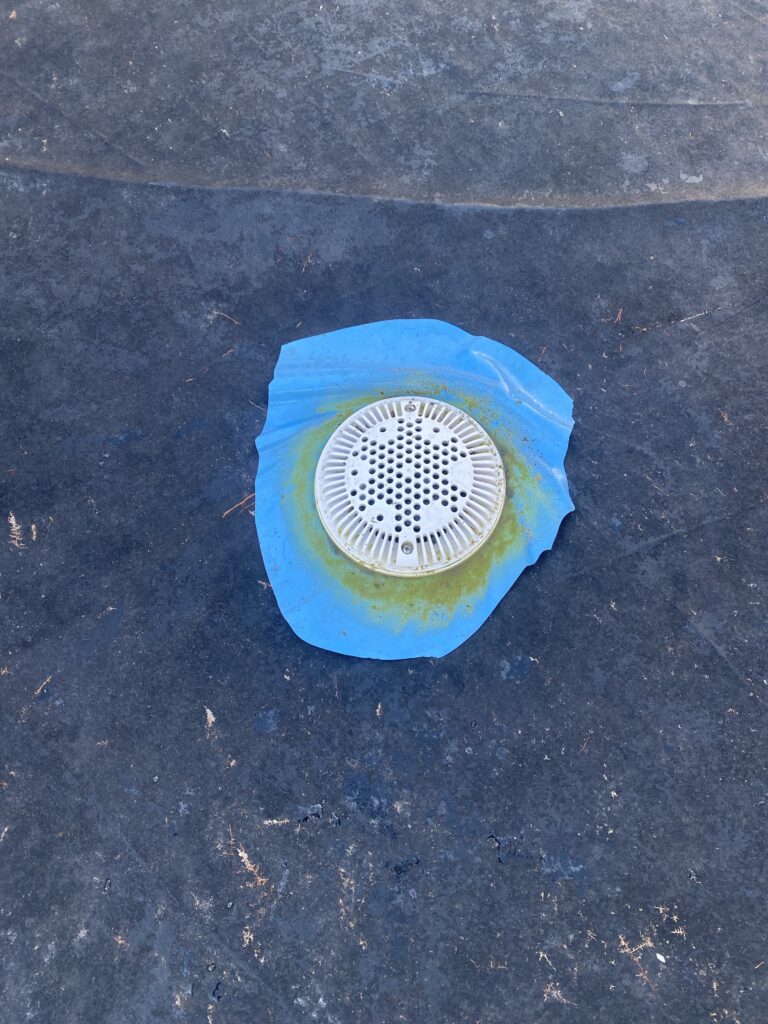
You will remove the liner around the main drain independent of removing the other part of the liner.
2 Remove the main drain cover (2 screws)
3 Remove at least half of the water left inside the main drain body
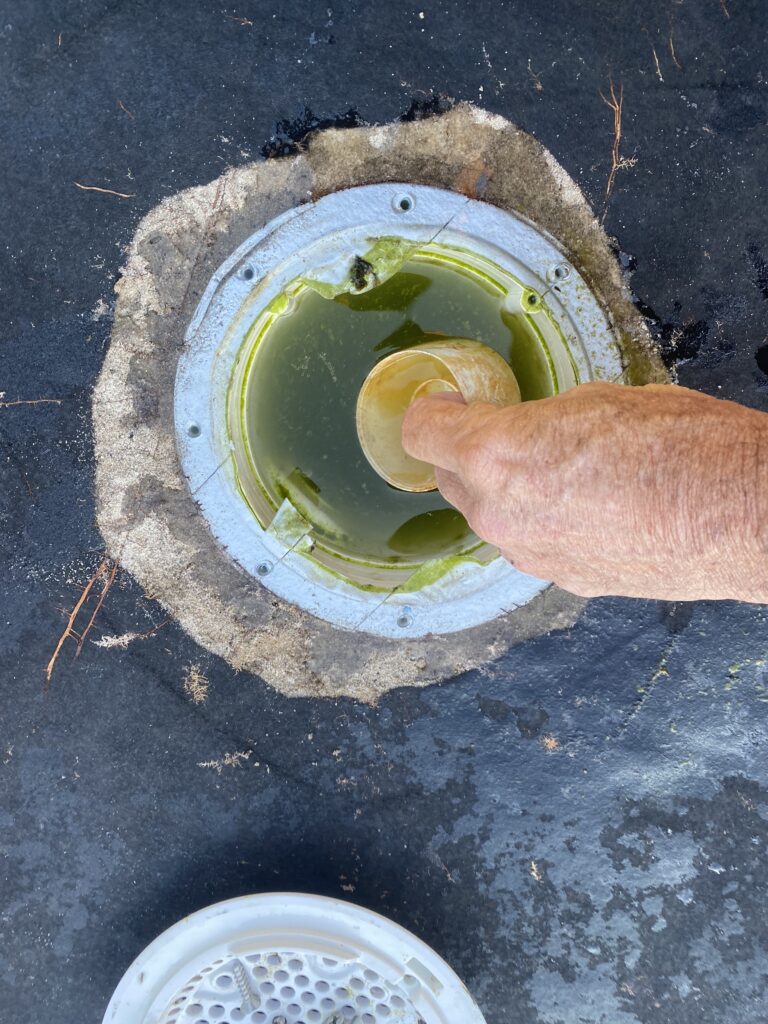
When you take off the drain cover, you’ll see that there is still some water inside. Remove that water using a small cup. A measuring cup from the kitchen works well for this.
4 Remove the 8 screws that hold down the seal ring and remove the plastic ring
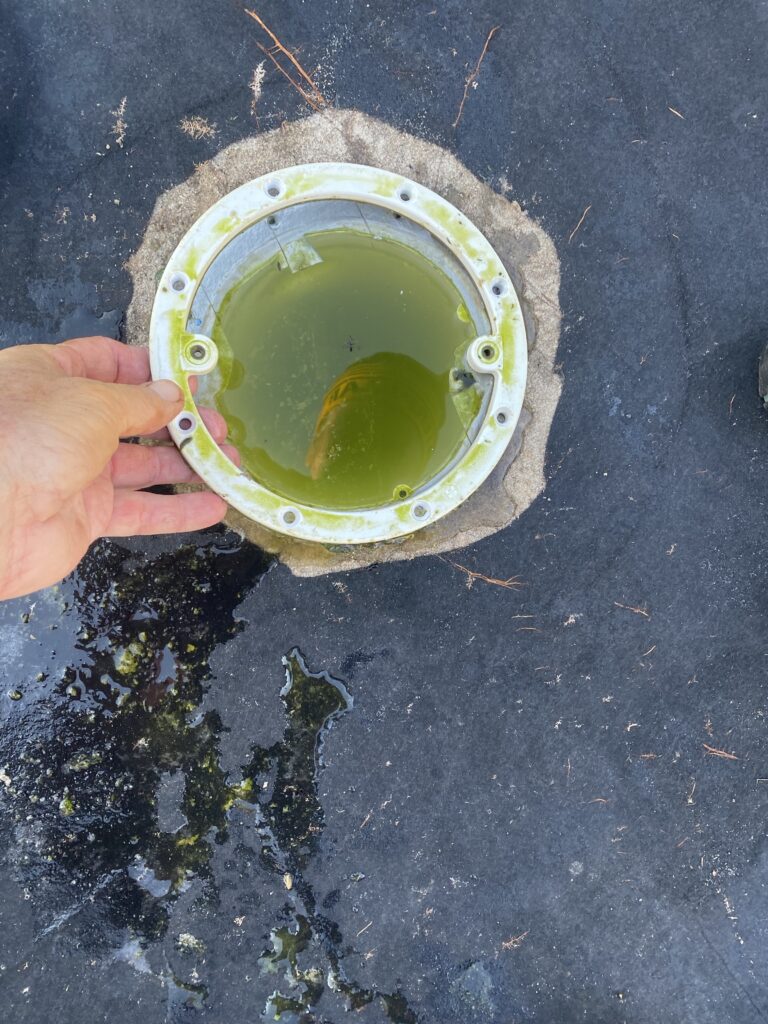
As you take the ring off, the gasket underneath it should come off too. Inspect that gasket and see if it’s in good shape.
At this stage, you can determine whether or not you need a new gasket. The existing gasket should be in one piece and not tear easily. If not in good shape, replace with new.
NOTE: If you don’t have a lot of experience with gaskets, replace this gasket with a new one regardless. They are inexpensive and a new one will increase your chances of no leaks.
5 Carefully remove the old piece of liner
When removing the old liner piece around the drain, be careful to not allow any dirt to fall into any of the eight holes.
Inspect the top of the main drain body where the ring screws down and inspect the bottom gasket (which is sitting on top of where the screw holes are).
6 Using a dry towel, dry the main drain surface where the screw holes are.
You are drying this area because you are about to tape the holes and need the tape to stick.
7 Duct tape a single layer over the entire main drain opening
Doing this will create a seal layer and prevent dirt from getting in the screw holes while changing the pool’s liner.
NOTE: Make sure the area where the seal ring screws in the main drain is flat, smooth, and one layer so it makes a nice seal.
8 Inspect around the main drain for signs of leaks
Look for any voids in the earth around the drain. If there was a leak, it can often displace the earth (pool’s bottom) and cause divots.
Look for any earth that is bleached white. Often, you can see where there was a leak because the leaked out swimming pool water bleached out the earth.
If you notice a potential sign of a leak, very closely inspect the main drain body for cracks (especially around the screw holes).
If you see any cracks in the main drain body, don’t risk it. Replace the main drain body.
Also, verify that there is no dirt or debris in each of the eight screw holes. This is most likely the reason that the drain was leaking, so make very sure the holes are clean and the screws can tighten down the seal ring.
9 Re-pack and re-smooth the earth/sand around the outside of the main drain body
As you re-smooth the rest of the pool’s bottom during the liner change, you want to pay special attention to having it solid and smooth around the main drain.
10 Make sure the top of the main drain is clean of debris before laying out the pool’s liner
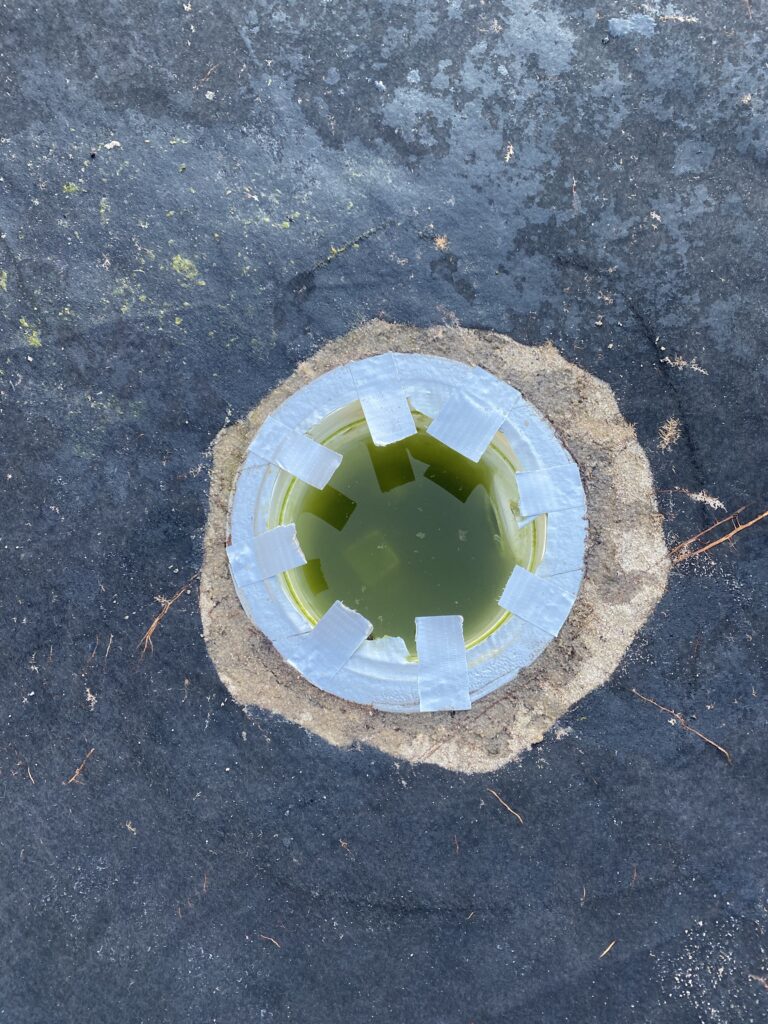
You don’t want anything attached to where the seal ring will be screwed down around the main drain.
11 Install the pool’s liner and start adding water
12 After water is added to the pool and the liner stretched in place, screw down the seal ring and gasket
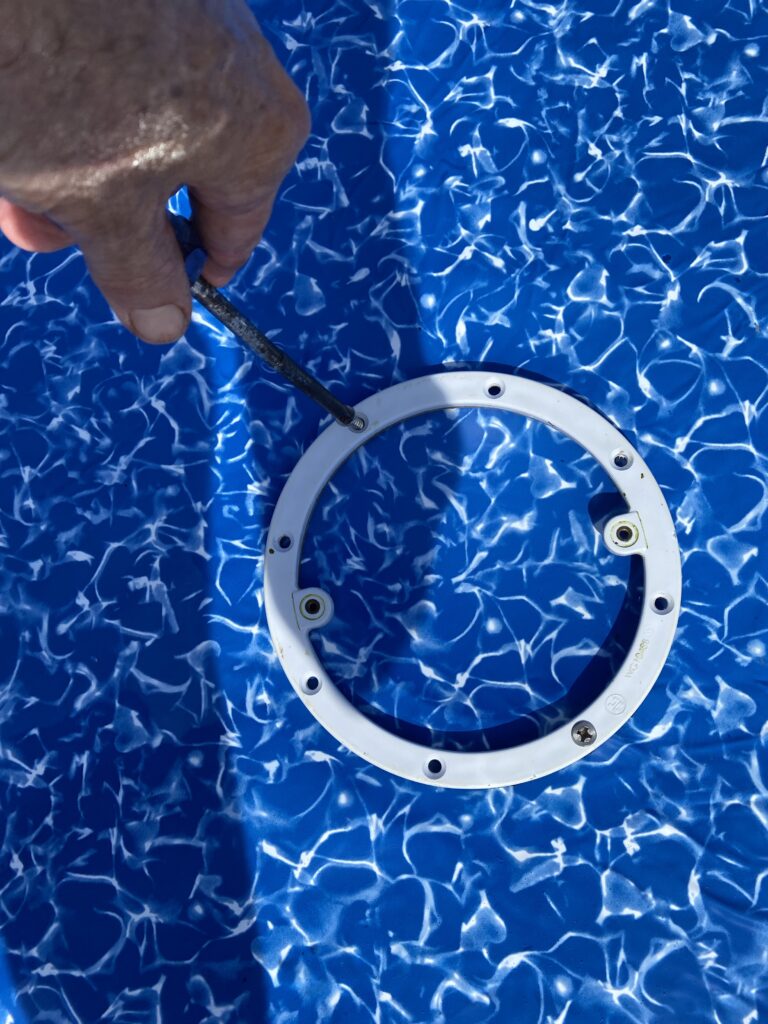
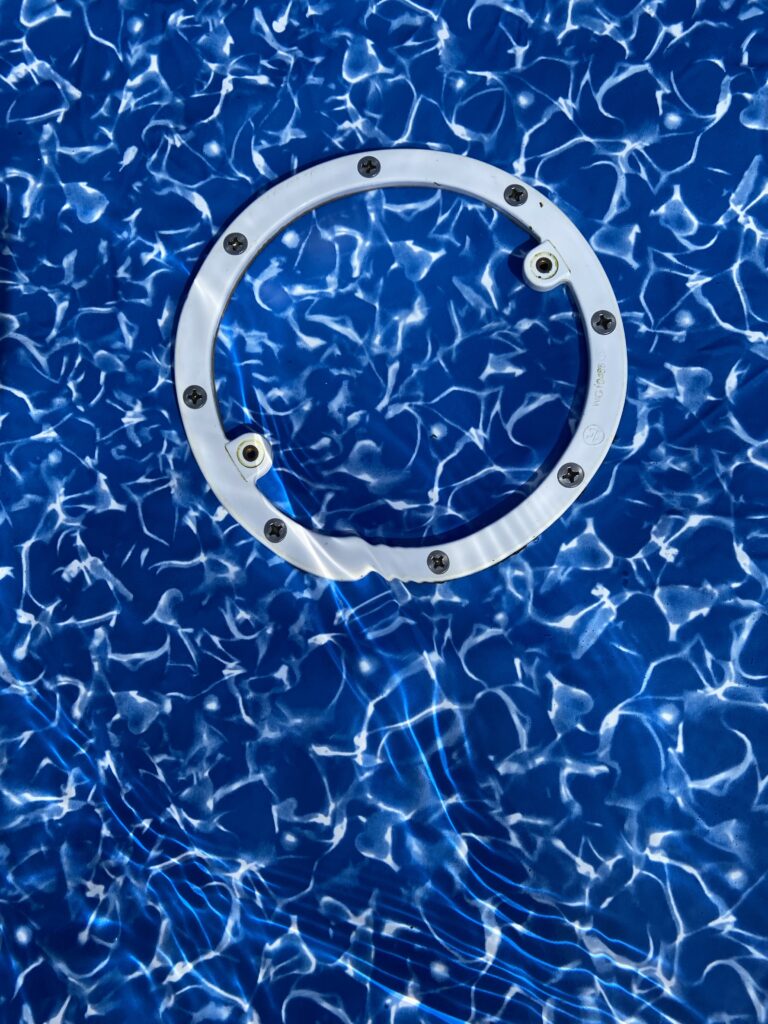
Special Note: Screw down the seal ring BEFORE you cut the liner
Find the first screw hole by feeling through the liner for the indention the holes made. This can be hard to find, so having more water in the pool will help show where they are.
Start screwing the seal ring in place through the liner starting with the first screw, then finding another screw hole. Don’t screw down tight until you have all the screw holes found and screws in place.
Screw down all eight screws tightly using a number three Phillips screwdriver.
13 Cut the liner around the INSIDE of the main drain ring
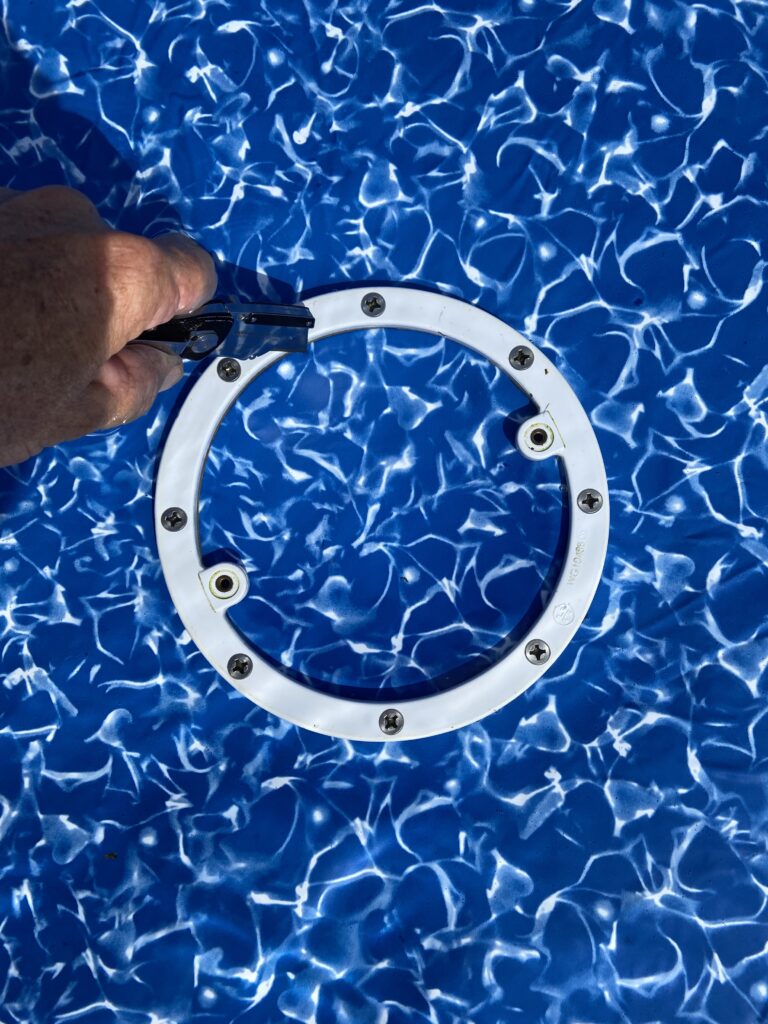
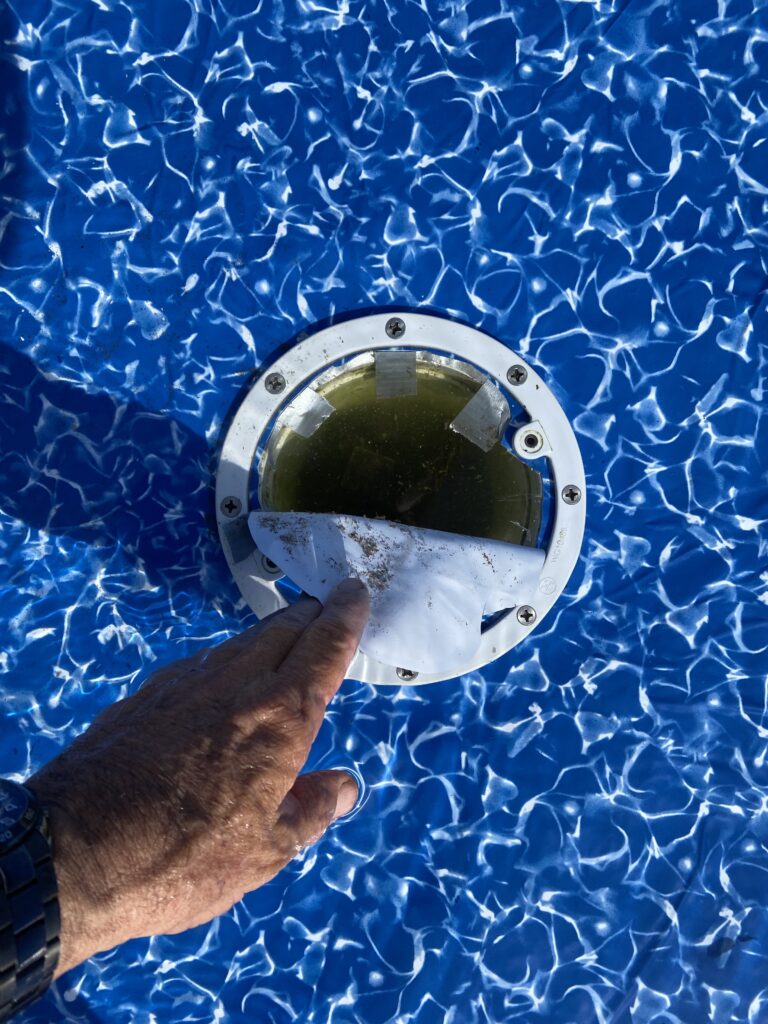
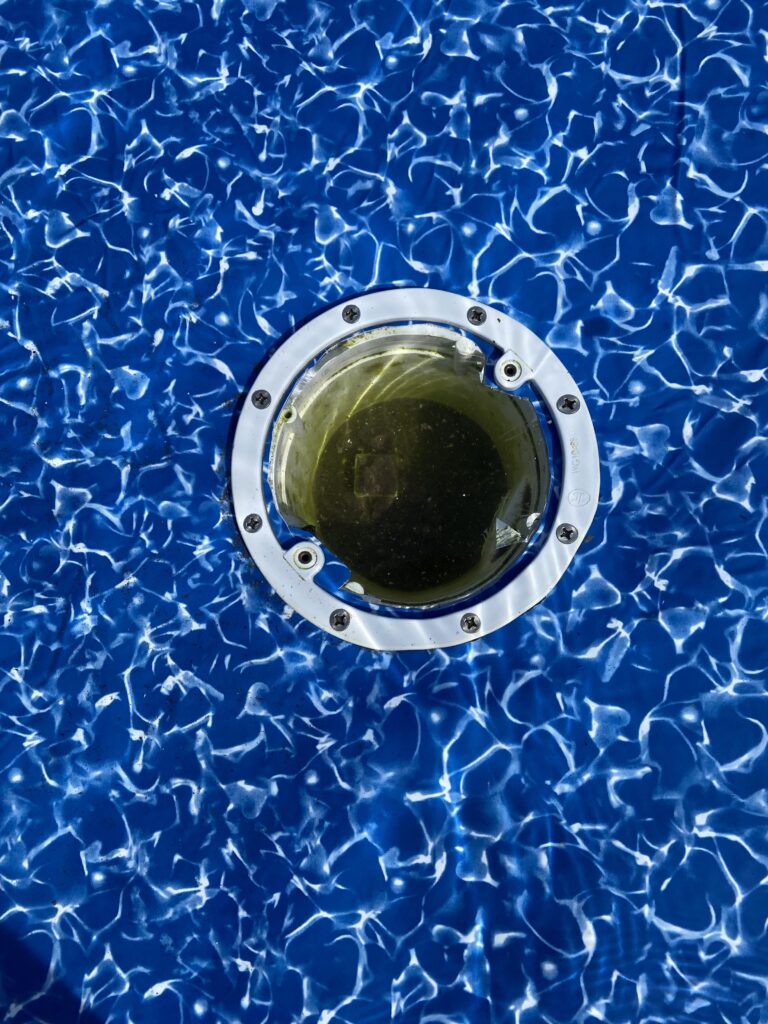
The hard part is over. You know have the seal ring in place and screwed down. Now use a razor knife and cut the main drain opening.
You don’t have to cut this circle of vinyl out perfectly as it will be hidden by the drain cover.
14 Replace the main drain cover (2 screws)
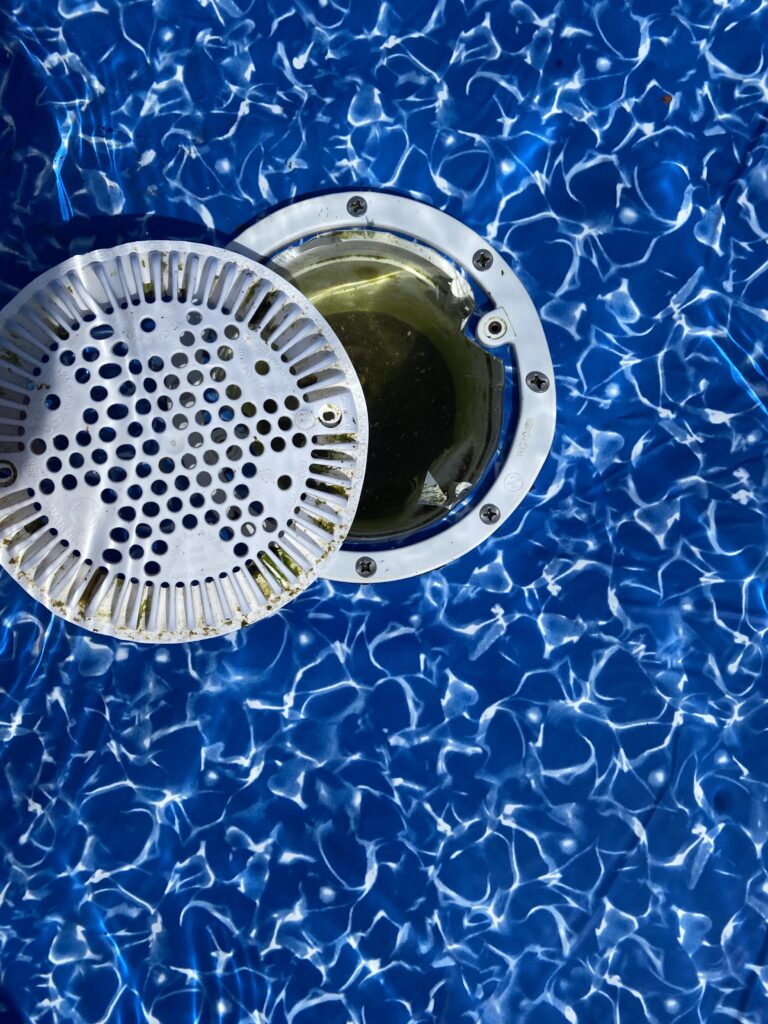
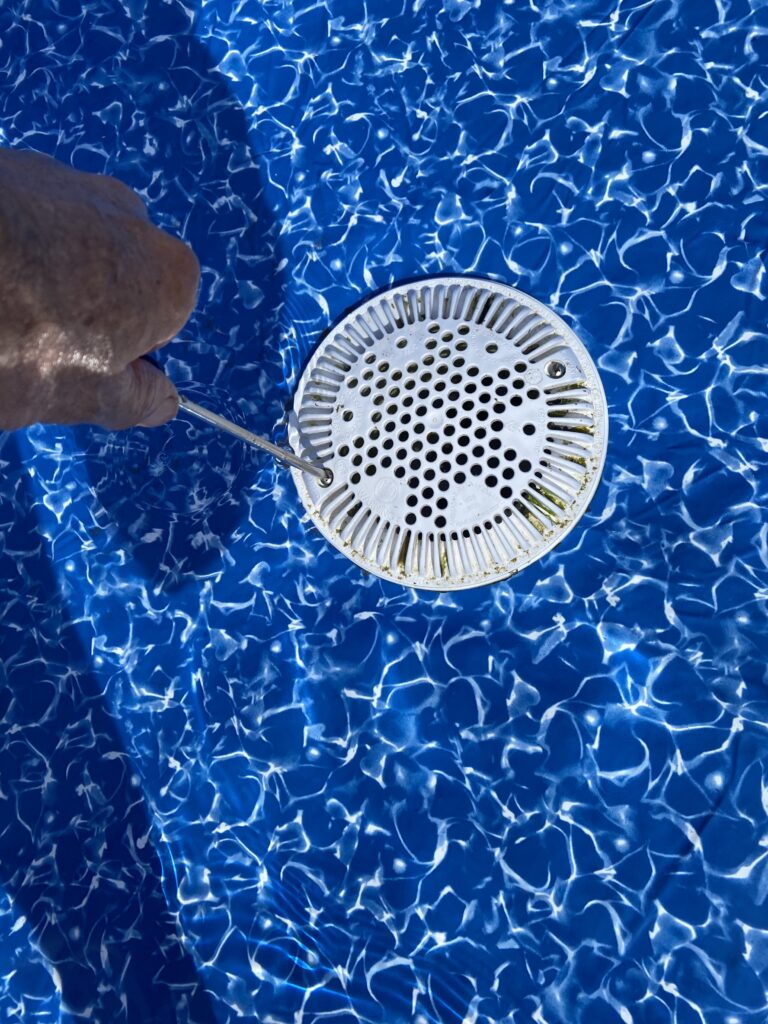
Congratulations, you are finished replacing the main drain opening in your new liner.
THE MOST COMMON WAY THAT MAIN DRAINS IN ABOVE-GROUND POOLS LEAK
A main drain can leak from poor gluing of any of the PVC fittings under the pool (the piping going from the main drain to the pool’s pump). It can also leak if there is a crack in the plastic main drain body or if the seal ring is cracked in pieces.
These above reasons are very uncommon causes for a main drain to be leaking pool water. The most common way a main drain leaks is with the seal ring.
The seal ring (with the 8 screws and a gasket) is by far where main drains leak. And they leak there for one very common reason. And that is because there is some dirt in the screw-down holes which disallows the screws to tighten the seal ring all the way down.
For this reason, It is ABSOLUTELY CRUCIAL TO MAKE SURE THE EIGHT SCREW HOLES ARE FREE OF DIRT AND DEBRIS when changing out the pool’s liner.
This is why I duct tape the surface of the main drain body at the very beginning of the liner change.
CAN I ELIMINATE THE MAIN DRAIN?
Many times when pool owners have had issues with losing water in their above-ground pool AND they have a main drain, they will think the leak was in the main drain.
So, it’s common for people in that situation to want to eliminate the drain when it’s time to change the liner.
In my 37 years of installing and working on above-ground pools, I have very rarely seen a main drain leak. And almost all of them leaked around the seal ring due to it not being tightly screwed down (because dirt was in the hole/s)
For this reason, I never encourage anyone to eliminate their main drain, but if you want it gone, it can be easily done during a liner change.
To eliminate the main drain in an above-ground pool, simply cut the drain body out of the bottom of the pool from the attached underground pipe and fill the void with dirt or sand.
You can leave the piping going to the pump in the ground. Just make sure to either turn off the valve that goes to the main drain (in front of the pump) or cut the main drain line on the outside of the pool and cap it off (Recommended).
Just want to confirm 100%…. I leave the duct tape over the seal (on drain body) and do not remove it… ever. When I cut the hole in the liner, I will also cut the duct tape, and the 8 screws will also go through the duct tape as well. I just want to be sure the remaining duct tape will not interfere with the performance of the seal as the bottom (first seal applied) will have duct tape on it. I guess this seal is sealing to the drain body, not the underside of the liner?
Yes you are reading this correct. Leave the duct tape on where the screws holes are. This layer of tape will NOT interfere with the seal.